
13 October 2026 · 5 min read
Kitchen Renovation on a Budget: Where to Save and Where to Spend
A better kitchen does not have to mean replacing everything. Careful planning, selective upgrades and keeping essential services in place can help you make the most of your renovation budget.
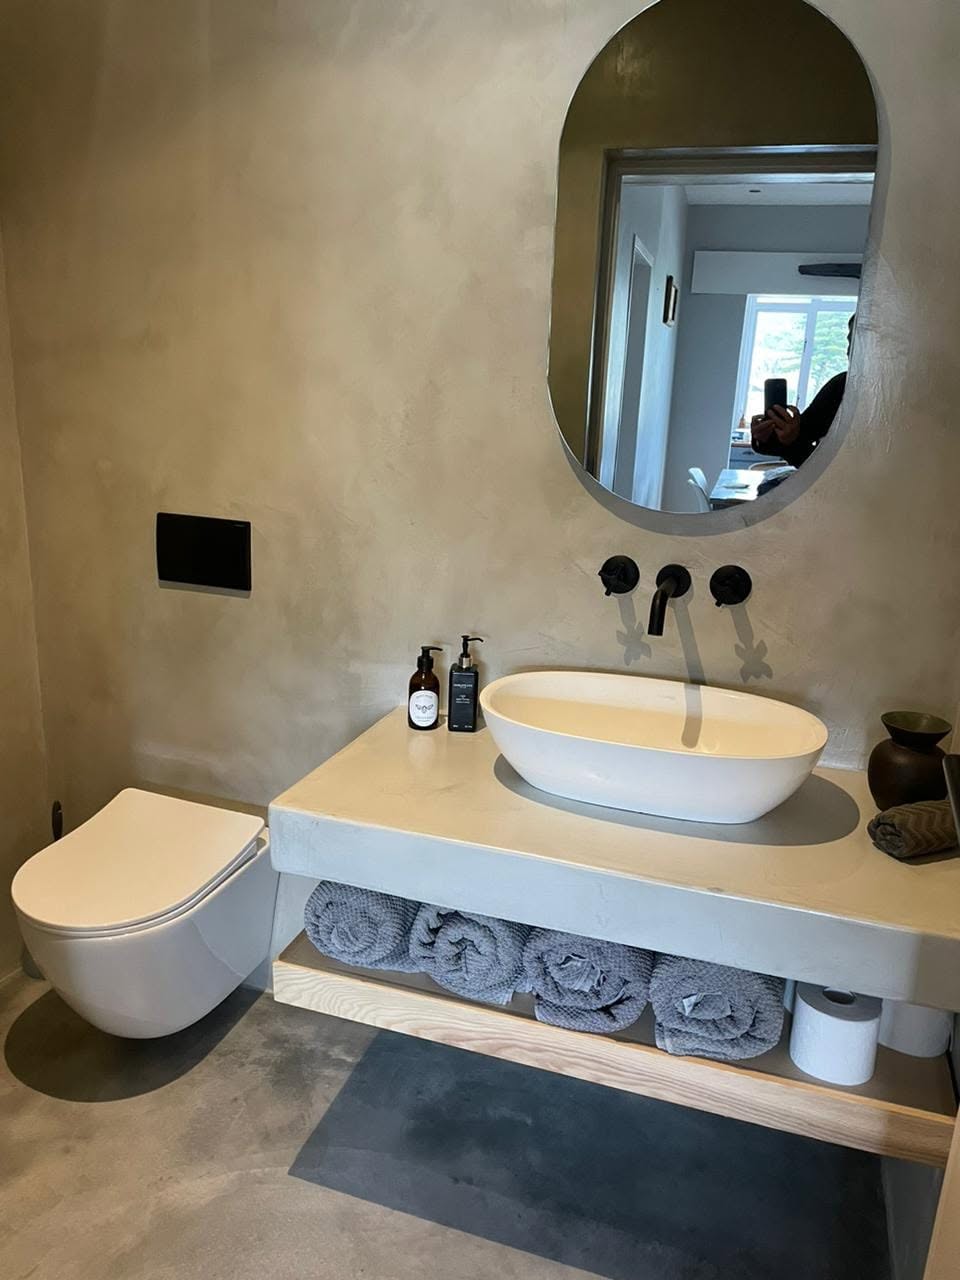
A kitchen renovation on a budget starts with deciding what genuinely needs to change. Is there too little storage, a damaged worktop, poor lighting or simply a tired finish? Make three lists: essential repairs, useful improvements and extras that can wait. Keeping the existing layout is often a good way to control costs, particularly if the sink, stove and major appliances already work well where they are. Moving water supplies, drainage and electrical points can add work that is not obvious at first glance. Set aside a contingency for hidden problems, rather than committing every available rand to visible finishes.
Before buying materials, measure the kitchen carefully and record door swings, window positions, appliance sizes and service points. Check that drawers and cupboard doors can open without colliding, and allow comfortable working space around appliances. Ask for an itemised quotation that makes demolition, disposal, surface preparation, installation and finishing clear. Confirm who supplies handles, hinges, grout, sealants and other small items, as these can be overlooked when comparing quotations. Order decisions matter too: choosing a sink or hob after the worktop has been cut can cause expensive rework. Arrange a temporary food preparation area and plan for interruptions to water, power and cooking facilities.
Look closely at your cupboards before deciding to replace them. If the cabinet boxes are sound, dry and securely fixed, new doors, handles or hinges may give you the improvement you need. Painted doors can also work, but grease must be removed and surfaces properly prepared with a coating system suited to the existing material. Painting over peeling laminate or swollen board rarely produces a lasting result. Check underneath the sink and along floor-level edges for leaks or moisture damage first. Repair the cause before refinishing anything, and consider replacing only damaged sections where a practical, neat match is possible.
Choose worktops and finishes for everyday use, not appearance alone. Laminate worktops can be a budget-conscious option, but cut-outs, joins and exposed edges need careful sealing, especially around sinks. Timber needs suitable finishing and ongoing care, while heavier worktops require adequate cabinet support. Compare the installed cost, including cut-outs, edging and joins, rather than just the advertised material price. For splashbacks, a simple tile in a straightforward layout can reduce cutting and labour compared with intricate patterns. Buy from a consistent batch and allow for cuts and a few future replacements. A smaller, well-finished splashback can be more useful than tiling every wall.
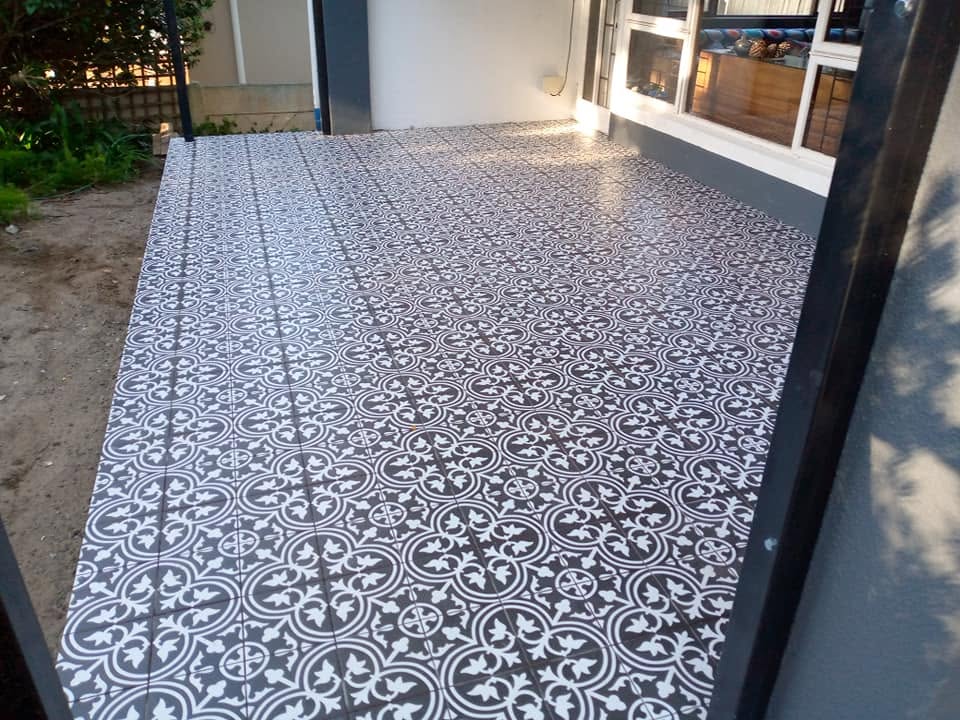
Spend on preparation and reliable installation before decorative extras. Tiles need a sound, suitable surface; laying them over loose finishes or unresolved damp can lead to failure. Check floor levels and finished heights so that new flooring does not trap a dishwasher or interfere with doors. In Cape Town, winter rain and damp conditions can slow drying, particularly in homes with limited ventilation. Coastal homes may also benefit from corrosion-resistant hardware suited to the exposure. Address leaks and ventilation problems before closing cupboards or repainting walls, and follow product guidance for adhesive, grout, plaster and paint drying or curing.
Know which jobs need professional input. Removing a wall to create an open-plan kitchen may involve structural loads, services and approval requirements, even when the wall looks unimportant. Get qualified professional advice for structural changes and confirm council approval requirements before work begins. Electrical, plumbing and gas alterations should be handled by appropriately qualified tradespeople, with required compliance documentation confirmed upfront. Timelines depend on the scope, site conditions, curing, approvals and weather, as well as material availability. A modest refresh may involve fewer stages than a full renovation, but rushing preparation or covering materials before they are ready can undermine the savings.
If the budget is tight, phase the renovation in a sensible order: deal with safety, leaks and damaged materials first, then improve function, and leave purely decorative touches until later. Avoid temporary purchases that will need replacing when the next phase starts. Keeping a written record of selections, measurements and agreed changes helps prevent misunderstandings and keeps spending visible. The aim is not the cheapest finish in every category, but a practical kitchen with sound foundations and improvements you will use daily. If you would like to discuss which changes make sense for your kitchen and budget, chat with Frank at Majors Builders on WhatsApp at 073 338 3911.
Before you choose your finishes
For Cape Town patios and wet rooms, choose tiles rated for the location, with suitable slip resistance. A tile that works on an indoor wall may not be suitable for an exposed floor. Ask your supplier about the product’s recommended use before placing an order.
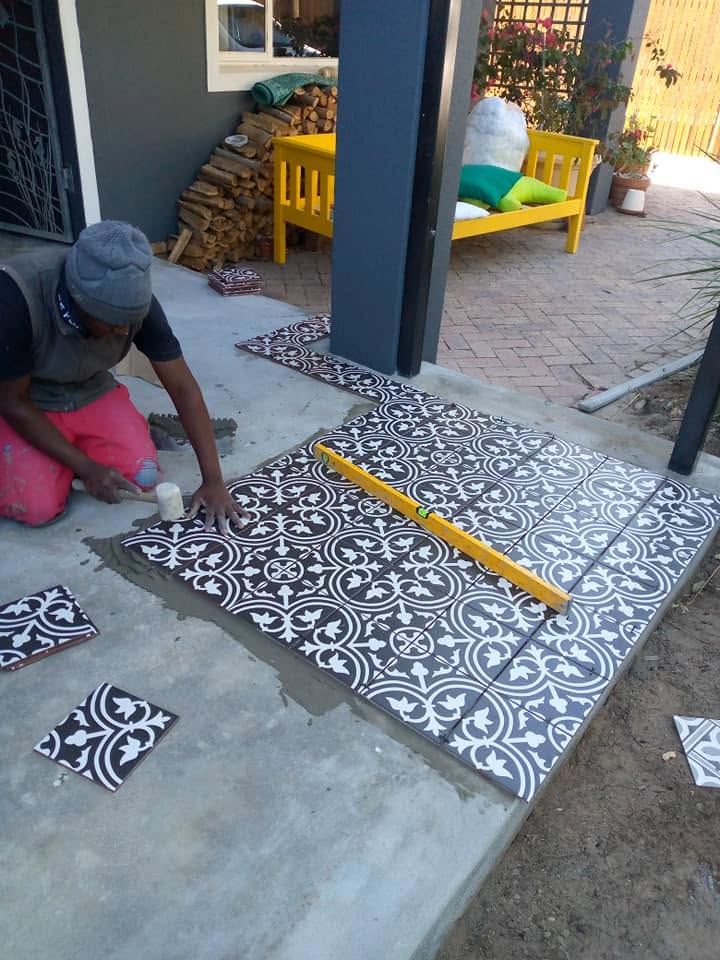
Check waterproofing, floor levels and drainage before laying tiles. Allow adhesives, grout and waterproofing systems to cure for the time specified by the manufacturer; cool, damp weather can affect the programme.
Your project checklist
- Confirm measurements, tile batch and spare tiles for future repairs.
- Agree on layout, grout colour and edge finishes.
- Resolve leaks or damp before covering the surface.
Let’s talk about your project
Send Frank your ideas and site photos to discuss the next steps.
Chat with Frank on WhatsApp